Starting G7
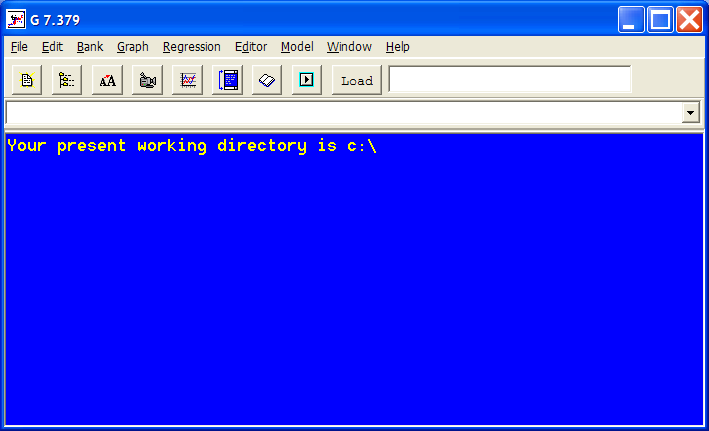
Double click the G7 icon to start the program. After an initial splash screen, you will see a configuration utility that specifies various parameters for G7. G7 looks for a G.CFG file in the folder from which it starts, and this file determines the characteristics of the workspace that G7 creates and the initially assigned data bank. For example, to follow the tutorial, you should select the C:\AMI folder by selecting the “Browse” button in the utility window, navigating to the appropriate directory, and opening the G.CFG file found there. If you exit G7 normally, your choice of folder will be remembered the next time you return. If you wish to use the same directory and setup, you have only to confirm the initial selection. Click the “Help” button on the configuration utility window for more details.
The default font font for the results window is rather small to allow all of the results of a regression to be seen in a form only half the width of the screen. Many users, however, prefer to use a larger font. Click File | Font to pick your font. Some displays are organized under the assumtion that the font is monospaced, so FixedSys is a good choice, as is Courier in a higher point size. If you exit G7 normally, your choice of font will be remembered next time you start G7. Try it; after changing the font, give G7 the q command in the white command box (or use ‘Alt-F4’, or File | Exit).
Shortcuts
Many shortcuts can be executed by pressing the ‘Alt’ key plus a character that is underlined in the corresponding G7 menu command. For example, ‘Alt+D’ will launch the G7 editor. Other useful shortcuts include:
- F1:
Launch G7 Help Files
- F7:
Launch the G7 macro model dialog window
- F8:
Launch the G7 InterDyme model dialog window
- F9:
Execute in Execute command box
Other Feaures
The command box provides an auto-complete feature to speed the typing of repeated commands. Sometimes this feature proves troublesome. It can be turned off by clicking File | Autocomplete, or it can be turned off by typing the following command in the command box:
- Command Cache
These menu items provide control over the command-line cache, where each command-box entry is recorded. Available menu items allow printing of the cached commands, clearing of the cache, and execution of the cached commands. The same control is offered throuth the commands commandcache <clear>, commandcache <print>, and commandcache <replay>.
G7 Main Window Properties
Set properties of the G7 main window, where font names and colors may be taken from the lists in the xl help pages and where other options may be specified as <0|1>, <yes|no>, <false|true>, or <off|on>.
- mainfontname <name>:
Set the typeface in the main G7 window.
- mainfontsize <size>:
Set the size of the type in the main G7 window.
- mainfontcolor <color>:
Set the font color in the main G7 window.
- maincolor <color>:
Set the background color of the main G7 window.
- mainautofontsize <0|1>:
Specify whether to adjust the font size automatically in the main G7 window.
- mainfontbold <0|1>:
Specify the bold setting in the main G7 window.
- mainfontitalic <0|1>:
Specify the italic setting in the main G7 window.
- mainfontunderline <0|1>:
Specify the underline setting in the main G7 window.
- mainfontstrikeout <0|1>:
Specify the strikeout setting in the main G7 window.
- autocomplete <0|1>:
Specify the autocomplete setting for the command box in the main G7 window.